


Sign up for emails to get the scoop on new arrivals, special sales and more. Get 2 USD off for all products!
- HOME /
- Furniture stickers /
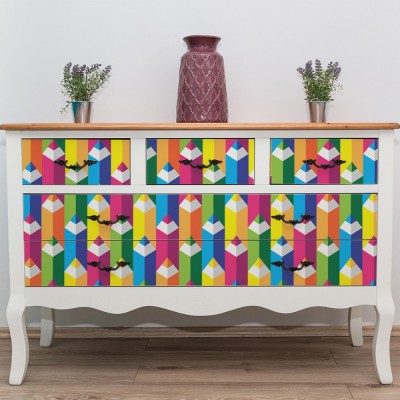
- Decorative sticker for furniture Tattoo skulls
loading creator
move the mouse here to zoom
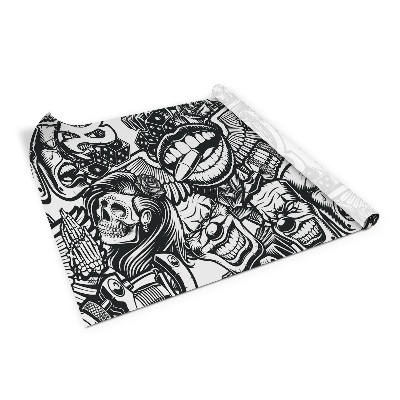

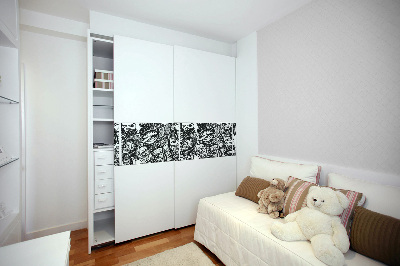
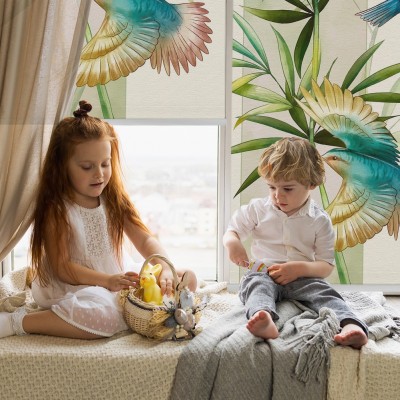
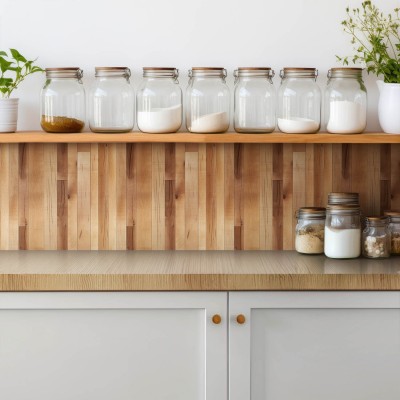
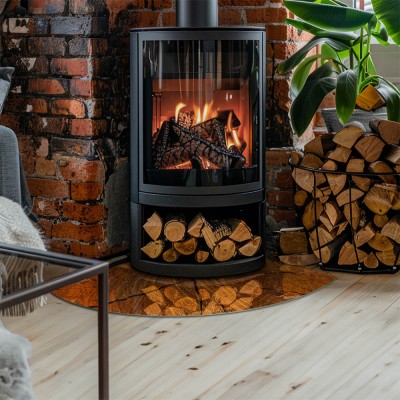
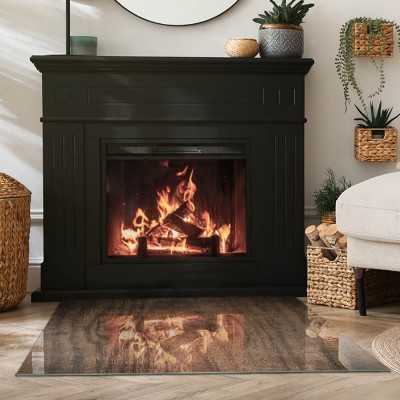
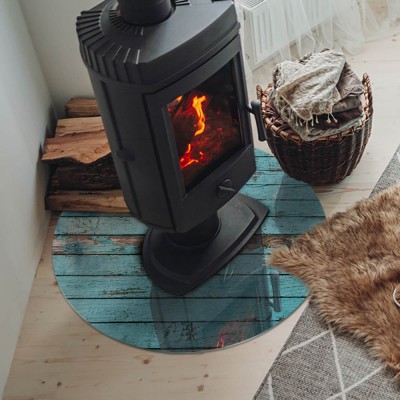
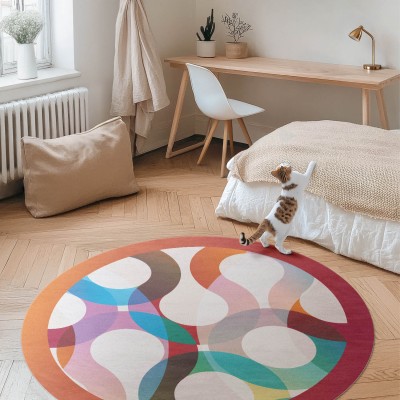
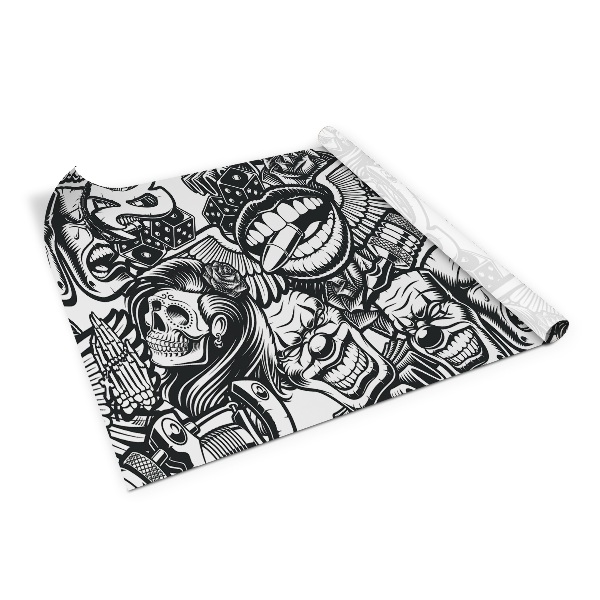
Decorative sticker for furniture Tattoo skulls
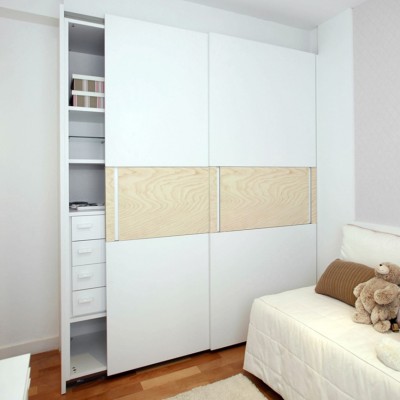
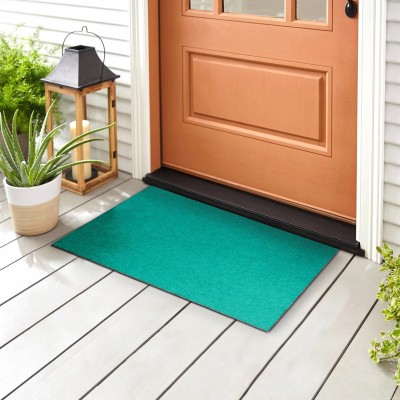
Decorative sticker for furniture Tattoo skulls it will be a perfect addition to your interior! The presented furniture veneer, thanks to the best quality material and durable print colors, will look great in any space.
40x20 in (100x50 cm)
40x20 in (100x50 cm)
$
- + Add to cart
Wide range of payment methods
Quality products from the manufacturer.
Quality products from the manufacturer.
Estimated delivery date: Monday, 3 August 2026 - Thursday, 6 August 2026
Add to wishlist  Share
Share  Pin it
 Pin it
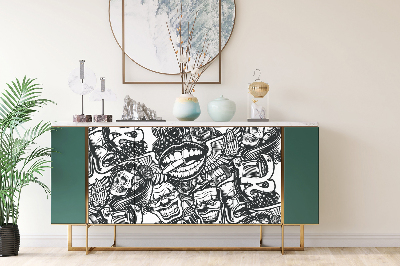
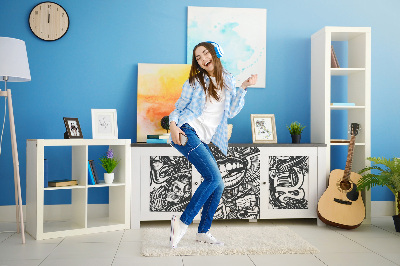
 Decorative sticker for furniture Tattoo skulls it will be a perfect addition to your interior! The presented furniture veneer, thanks to the best quality material and durable print colors, will look great in any space. Digital printing allows us to apply any pattern and motif on the foil. This will allow you to choose a self-adhesive veneer that will wonderfully decorate your furniture and give it a new look.
Material
Our furniture wrap is created on a matte monomeric film designed for application on flat surfaces (e.g., sliding wardrobe doors, dresser fronts, cabinet sides). The wrap is self-adhesive (no extra glue needed), making it very easy to apply. Monomeric film is characterized by its durability and high color saturation. Thanks to modern latex printing technology, our furniture wraps perfectly reproduce every detail of the chosen motif.
♦ Dimensions: 100x50 cm ♦ Material: Matte self-adhesive monomeric film
♦ High-quality material ♦ Print with perfectly reproduced details.


Installation
WET METHOD - The wet technique makes installation easier and allows you to correct the position of the furniture wrap during application.
- Fill a spray bottle with water.
- Thoroughly clean the surface where the wrap will be placed. Dirt, dust, and other contaminants must be removed.
- Align the wrap with the surface, printed side up. If necessary, trim the wrap with scissors or a utility knife.
- Generously spray the application surface with water.
- Peel back about 2-4 inches (5-10 cm) of the backing paper and fold it down evenly. Spray the adhesive side of the wrap with water. Apply the peeled fragment, smoothing it with a squeegee to push out water and air bubbles.
- Continue removing the backing paper in sections, spraying the adhesive side, and smoothing it down with the squeegee.
- Give the entire wrap a final pass with the squeegee to remove any remaining bubbles, then dry the surface with a towel. Done!
DRY METHOD
- Prepare the surface. Thoroughly clean the area where the wrap will be applied. Remove all dirt, dust, and debris.
- If installing on a vertical surface, start from the top. Otherwise, it doesn't matter which side you begin with.
- Unroll the wrap on a clean, dry surface, printed side up, and check for any print errors.
- Align the wrap evenly with the surface. Peel off about 8 inches (20 cm) of the material, tuck the backing paper underneath, and then smooth the adhesive section with a squeegee – pushing the air bubbles out.
- Finally, smooth the entire wrap with the squeegee to remove all bubbles. Done!
Safety Standards
We use state-of-the-art GreenGuard-certified latex printers. This ensures the highest print quality and guarantees that the wraps you purchase are health and environmentally friendly, meeting the most stringent safety standards. If you have any questions, feel free to contact us!
Packaging
We pack our furniture wraps in secure cardboard tubes, so you don't have to worry about the product arriving creased or damaged. Every wrap includes step-by-step installation instructions.
Samples
If you like the furniture wraps in our collection but aren't sure if they will fit your interior – write to us, and we will send you material samples. Note! Samples are intended to check the material in person, not for color matching! Colors may vary slightly depending on the specific print batch.
Bestsellers
New arrivals