


Sign up for emails to get the scoop on new arrivals, special sales and more. Get 2 USD off for all products!
Furniture Wraps for Protection
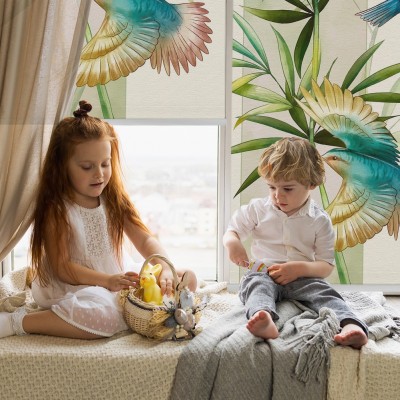
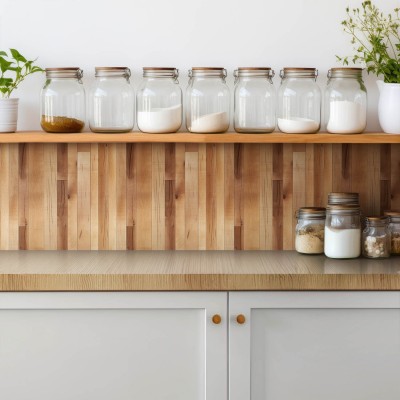
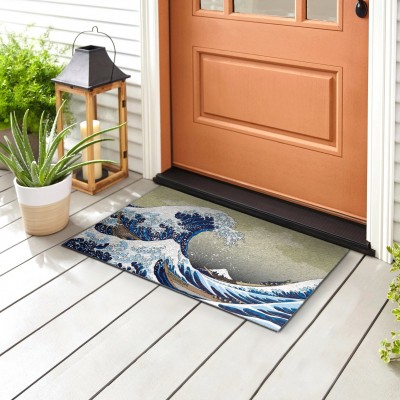
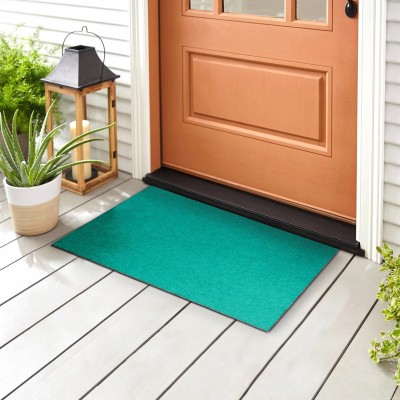
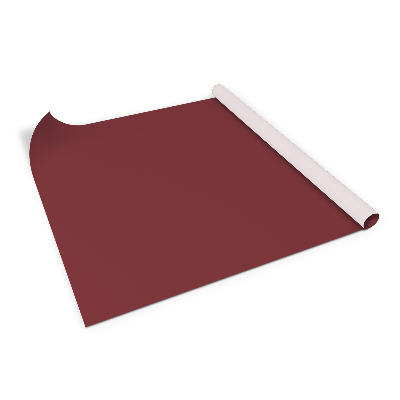
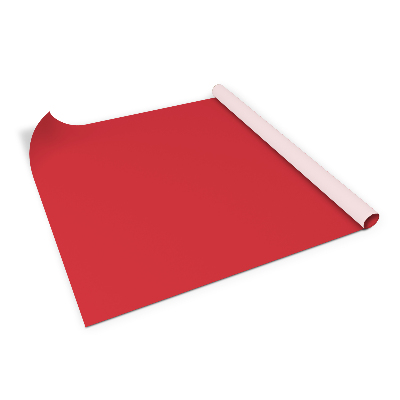
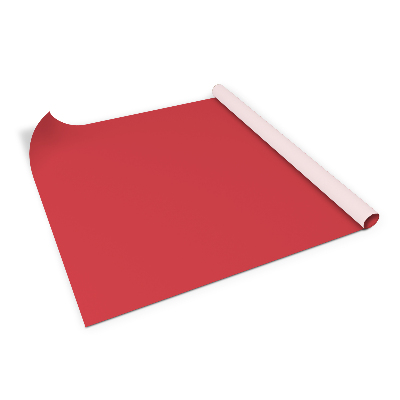
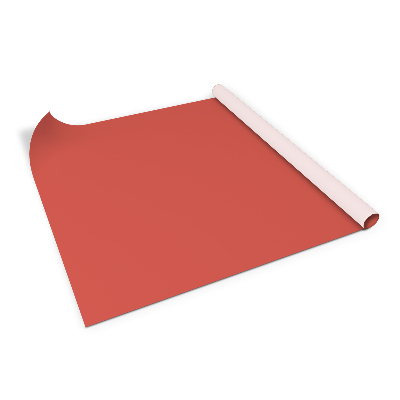
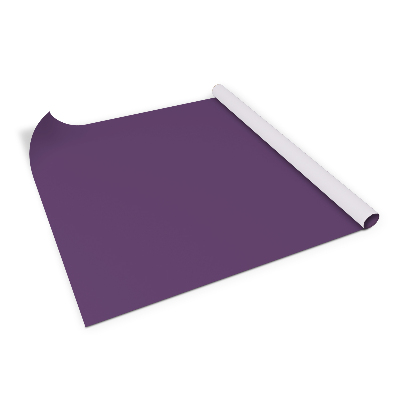
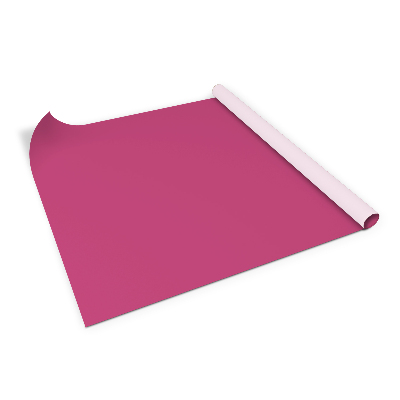
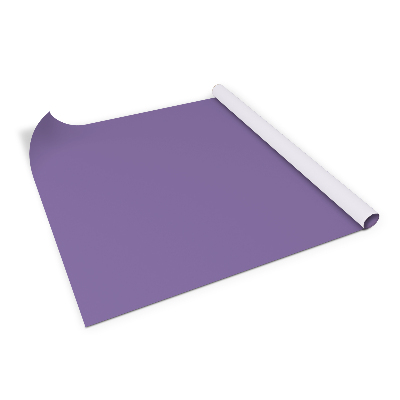
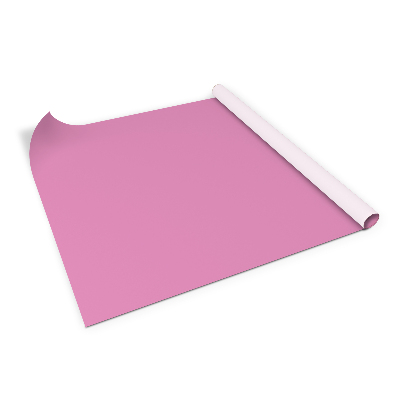
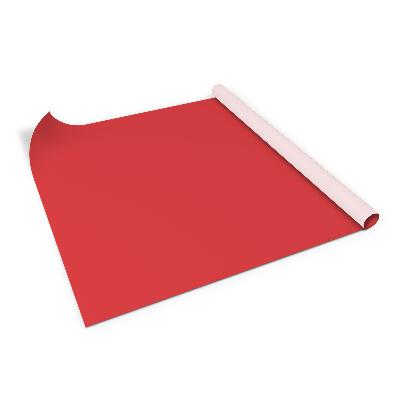
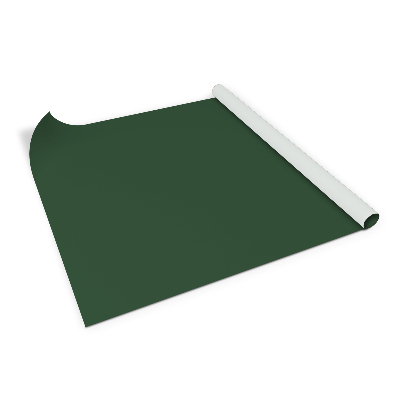
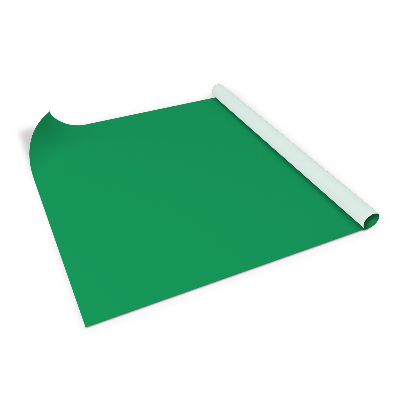
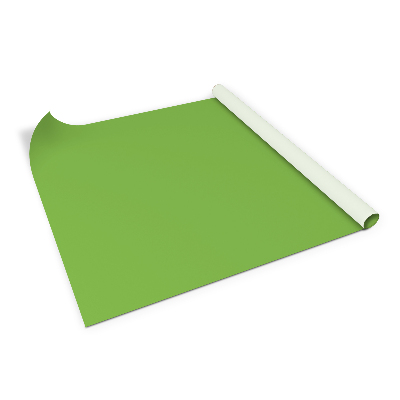
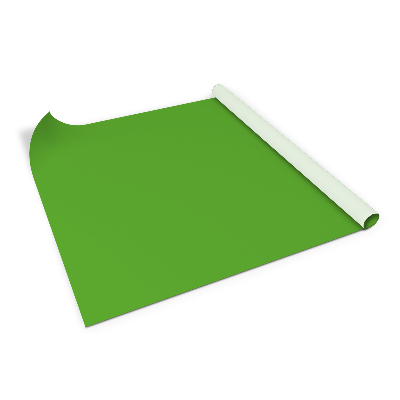
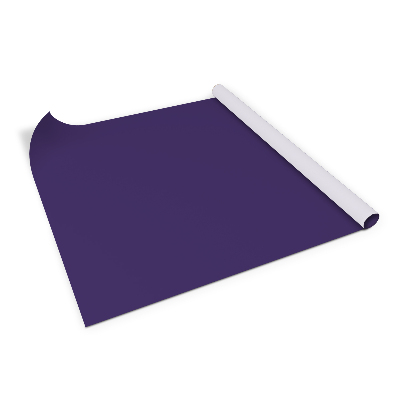
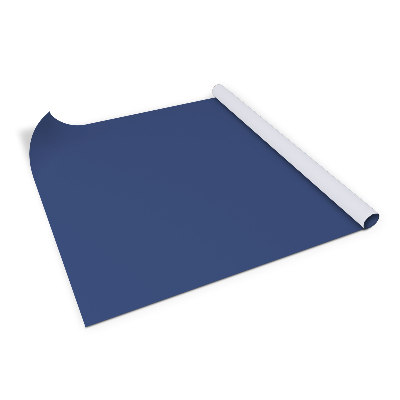
Vinyl wraps for kitchen cabinets are an easy way to refresh flat cabinet doors, wardrobe fronts, and other smooth furniture surfaces with a clean, modern look. These self-adhesive furniture wraps use a matte monomeric film that applies without glue and helps create a durable finish with rich color. They work well for updating a kitchen, bedroom, or home office.
Browse by:
Color
Category
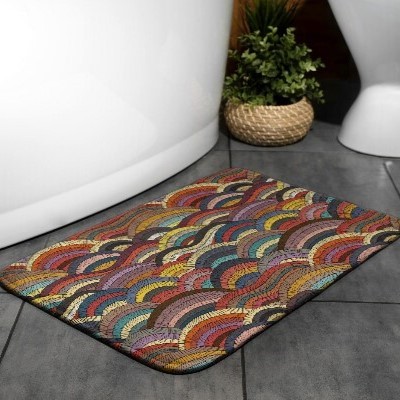
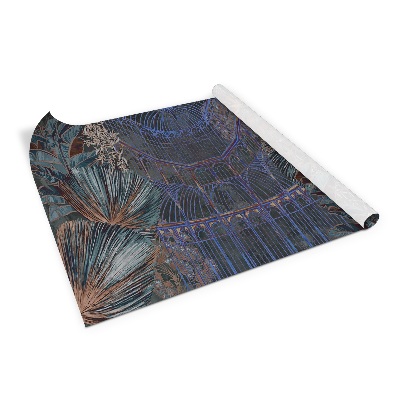
Abstraction
Other
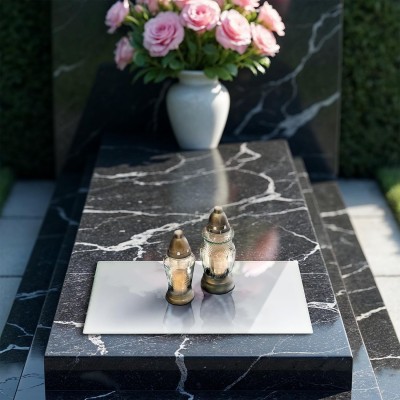
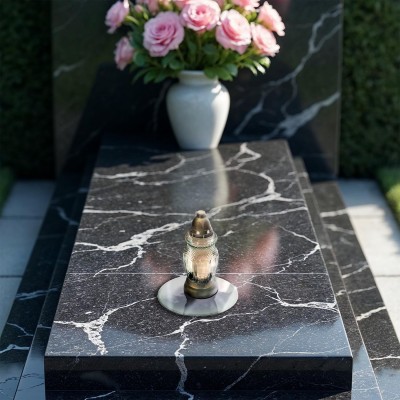
Marble
Brick
Nature
Wood
Textures
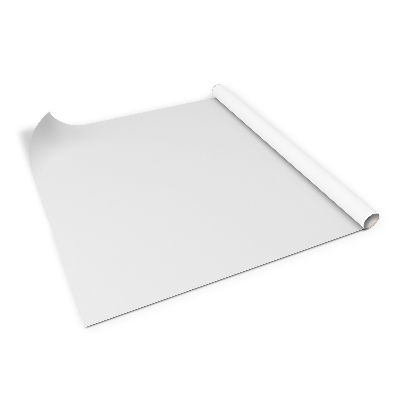
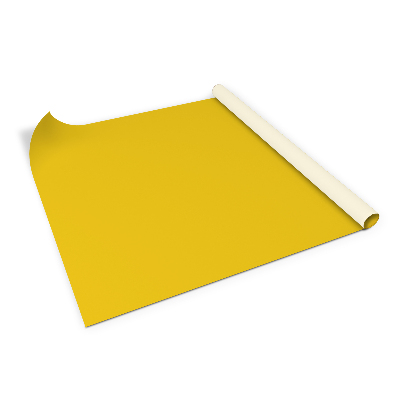
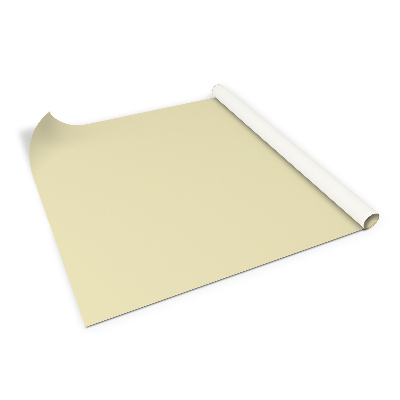
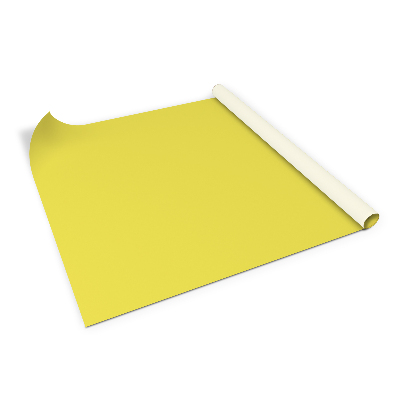
Single-color
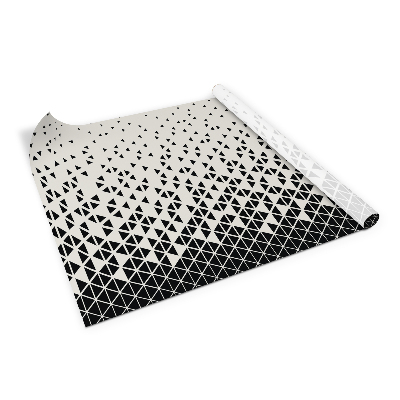
Geometric
Backgrounds and patterns
Furniture stickers [results: 1011]
Sort by:
Bestseller
Furniture Wraps for Protection
Furniture wrap offers a fast, clean way to refresh flat furniture surfaces without paint or power tools. Crafted from a matte, self-adhesive monomeric film, it bonds smoothly to cabinet doors, dresser fronts, wardrobe panels, and the sides of shelving units. Latex printing brings deep color and crisp detail to every motif, so the finish looks considered rather than improvised. The low-glare surface supports elegant look while helping patterns and solids read clearly in natural or artificial light. Installation is approachable for DIYers: start at one edge, guide the film with a squeegee or rubber roller, and press out air as you peel away the liner. Whether you plan a whole-room refresh or a single-door trial, vinyl wraps for kitchen cabinets make it easy to test ideas and see instant results.
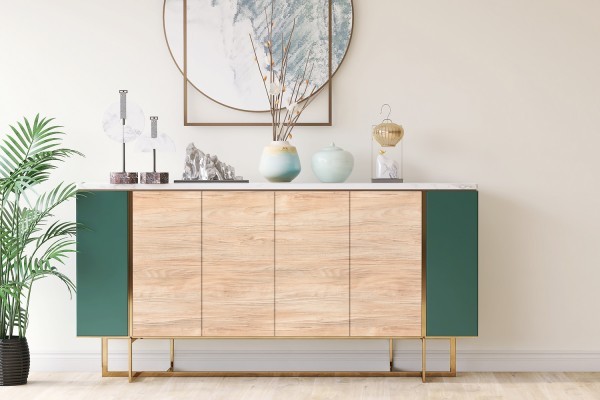
Kitchen and Living Room Transformations
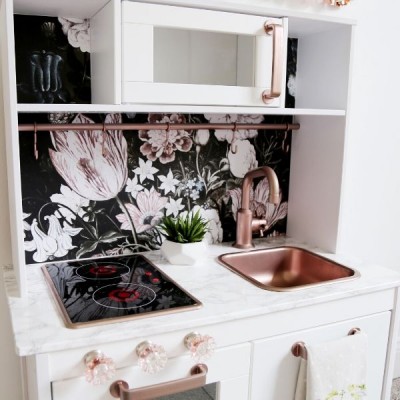
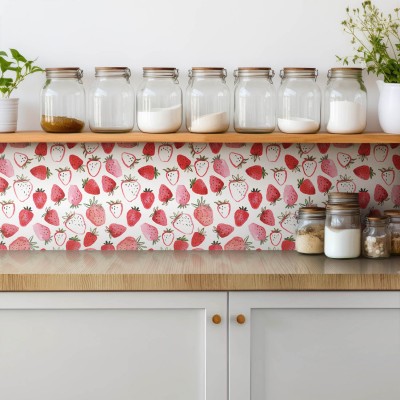
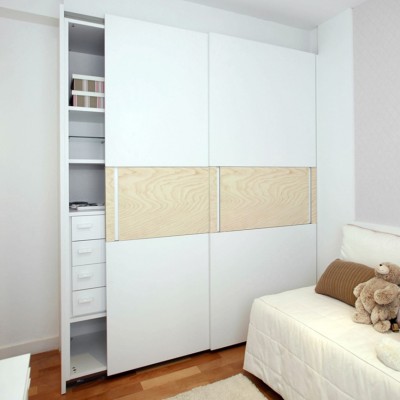
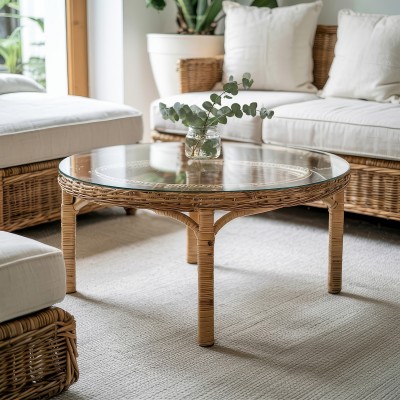
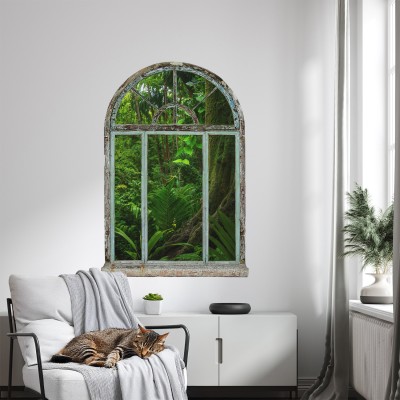
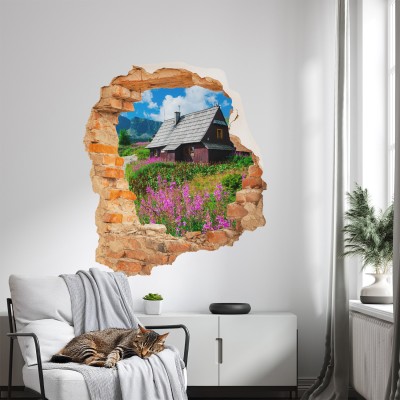
Flat-front kitchen doors, side panels, and toe kicks are prime candidates for a new look with furniture wrap. The film also renews living room pieces like media consoles, bookcase sides, and coffee table shelves, tying disparate items into a coordinated palette. Interior doors and closet sliders benefit as well, especially when you want a subtle texture or a solid tone to quiet visual noise. Because the film is designed for smooth planes, it performs best on unprofiled fronts and simple edges.
Renters and busy households appreciate that the adhesive is already on the film, eliminating extra glue and long cure times. A measured approach—working edge to edge, panel by panel—lets you handle large projects in manageable steps. If you’re bridging from the kitchen to adjacent spaces, repeating a hue or texture can create a gentle flow across rooms. Thoughtful placement on side gables and trim pieces ensures the update feels built-in rather than added on.
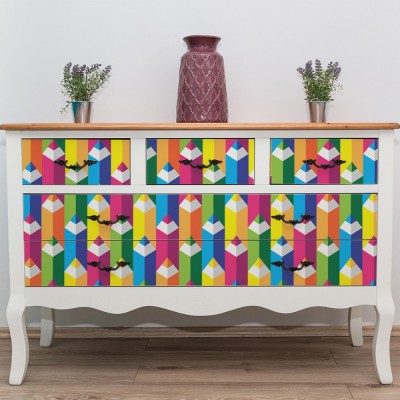
Material, Finish, and Printed Motifs
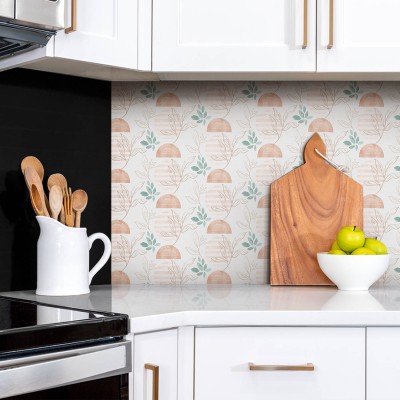
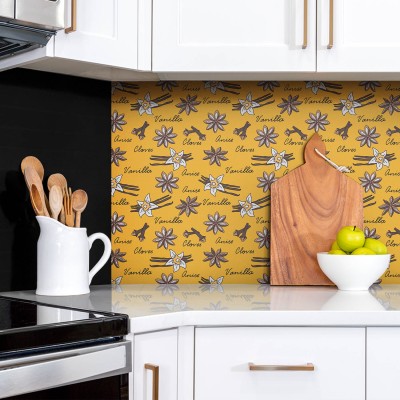
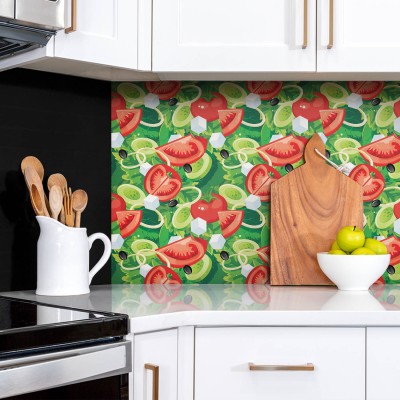
The base film is a matte monomeric vinyl engineered for dependable adhesion on flat substrates. Its surface diffuses glare for a calm, design-forward appearance, and it helps hide small visual distractions that glossy finishes can amplify. Modern latex printing reproduces fine lines, tonal shifts, and subtle grain effects with convincing fidelity. As a result, minimal solids, understated textures, and intricate motifs alike maintain their character after application.
An opaque backing helps the chosen design present consistently over light or dark originals. The release liner supports a steady install rhythm, peeling away cleanly as you work to maintain alignment. Rolls are packed securely in cartons to keep edges protected until the moment you apply them. This attention to material and handling translates to a finish that looks intentional from close up and across the room.
How to Choose and Coordinate Your furniture wrap
Begin by noting the light in your space, the undertones of floors and countertops, and the sheen of nearby surfaces. In bright rooms, matte films keep reflections in check so color and pattern read true throughout the day. For compact kitchens or narrow hallways, quieter textures and mid-tone solids can reduce visual clutter without feeling flat. In open-plan areas, repeat a single motif across cabinets, interior doors, and select accent pieces to create quiet continuity.
Match door and drawer faces first, then echo the hue on exposed sides or island panels for balance. If you plan to keep hardware, audition wrap colors against the existing metal finish to avoid clashes. When experimenting, apply the same design to one vertical run of doors before committing more widely; this reveals how the motif scales and interacts with grout lines, countertops, and appliances. Samples are useful here, allowing you to judge color and texture under real lighting conditions.
Installation and Care for Lasting Results
Preparation sets the stage: clean the surface thoroughly and let it dry so the adhesive can make full contact. Start from a straight edge, align the film, and anchor a small section, then progress slowly by peeling the liner while guiding the wrap with a squeegee or rubber roller. Work methodically to press out air and maintain tension without stretching the film. Trim edges with a sharp blade, using light pressure for neat corners and reveals. For wide faces, a second set of hands helps keep the sheet aligned as you advance.
Day to day, care is simple. Wipe the surface with a dry cloth to remove dust and light marks, avoiding wet cleaning that could compromise edges over time. If you need to address a scuff, use gentle, dry motions rather than scrubbing. Protect the finish from direct abrasion and set hot cookware on appropriate pads to preserve the look you’ve created.
Furniture wrap brings speed, control, and design range to projects that once demanded sanding, priming, and paint. With a matte, self-adhesive film and precise latex printing, you get a finish that feels composed and cohesive across flat fronts and panels. Installation is approachable, maintenance is minimal, and the result can unify spaces from the kitchen to the entry hall. Complimentary material samples in random designs are available to help you preview color and texture; shipping for samples is covered by the customer, and specific pattern samples can be purchased if you need an exact match. Explore the options, compare motifs under your own lighting, and choose the wrap that fits your vision with confidence.